
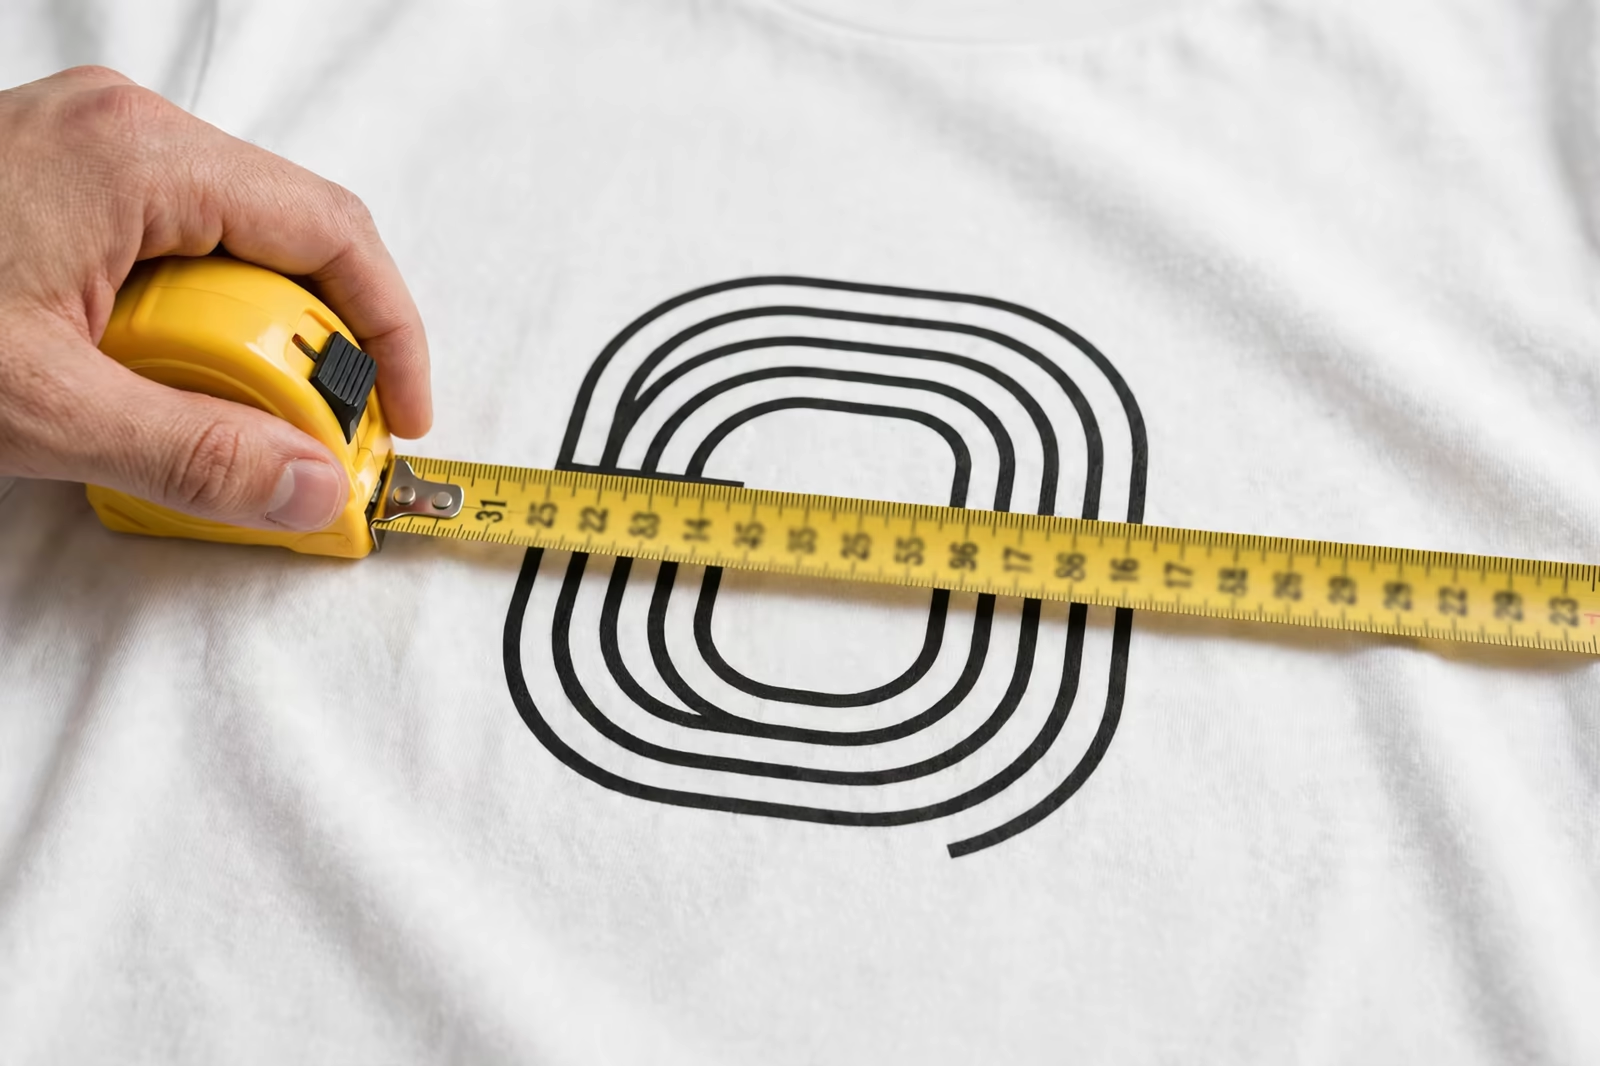
A print that is three centimetres too wide or sits two centimetres too low changes a garment’s whole character, and it does so identically across ten thousand pieces. Print size and placement are the quiet geometry of apparel decoration: standard charts exist for chest, centre, back and sleeve positions, printers work to them daily, and most buyers have never seen them written down. This guide writes them down, with the reasoning behind the numbers.
Placement charts are followed in Bangladesh for buyers in Germany, the USA and Australia, with the first printed garment measured against the chart before the run continues.
The charts below reflect the working standards in our screen printing programs across garments such as the pullover hoodie, and they are the same starting points a quote assumes when a design is described simply as a standard chest print.
How to Read a Print Size and Placement Chart
Two measurements govern every position: the size of the print itself, width first and then height, and its placement, measured from a fixed garment landmark rather than from wherever the printer’s eye prefers. Chest prints are placed by the distance from the centre of the design to the neckline or collar seam; back prints from the collar down; sleeve prints from the shoulder seam. Fixed landmarks are what make a placement repeatable across sizes and across production runs.
All figures here are working standards for adult garments in centimetres, the starting grid a design is adapted onto. Artwork proportions always govern the final height when a design’s aspect ratio differs from the chart’s assumption: width is usually the set dimension, and height follows the art. Youth and oversized programs scale from these same anchors, which the sections below explain.
Standard Chest Print Sizes and Placements
The left-chest print is the corporate and workwear staple: typically 9 to 11 centimetres wide, placed with its centre over the left chest, roughly 18 to 20 centimetres down from the shoulder-neck point and centred on the chest panel. It is deliberately small; its job is identification, not decoration, and oversizing it is the most common way buyers cheapen a uniform program without realising.
Centre-chest prints are the retail standard: 25 to 30 centimetres wide on adult tees, with the top of the design starting around 7 to 9 centimetres below the neckline seam on a crew neck, lowered slightly on larger sizes so the design keeps its proportion to the body. On hoodies the pocket and drawcords push centre prints higher and slightly smaller, usually 22 to 26 centimetres wide, sitting above the kangaroo pocket with the design’s centre around the upper chest.
Full Front, Back and Oversize Print Standards
Full-front prints stretch the canvas: 30 to 35 centimetres wide is the comfortable adult maximum on standard garments before seams and side curvature begin eating the design, and placement follows the centre-chest anchor with the design growing downward. True oversize and all-over work leaves the chart behind; it needs its own screens, its own sampling, and garments printed as panels or with specialised handling.
Back prints mirror the front’s logic with different anchors: a standard back piece runs 28 to 33 centimetres wide, with the top of the design about 10 to 12 centimetres below the back collar seam, lower for large statement pieces. A small upper-back print, 10 to 15 centimetres wide just below the collar, is the second classic position, often paired with a left-chest front so the garment carries a quiet front and a considered back.
Sleeve, Hem and Secondary Print Positions
Sleeve prints work in a narrow corridor: short-sleeve prints run 8 to 10 centimetres along the sleeve’s outer face, centred on the sleeve seam line, while long-sleeve prints run lengthwise down the arm at similar widths, text reading from shoulder to cuff or cuff to shoulder according to the brand’s habit. The sleeve’s curve is the constraint; designs that ignore it wrap, distort and read badly in wear.
Secondary positions finish a garment’s story: a hem print near the bottom edge, a small mark above the cuff, a print just under the back collar inside the size-label zone. These are small, 4 to 9 centimetres, and their value is discovery rather than impact. Each added position is its own screen and print pass, so charts treat them as deliberate additions with their own cost line, never as free decoration.
Placement for these small marks is measured as strictly as for the main design: the hem print’s distance from the bottom edge and side seam, the collar mark’s drop from the seam, all written into the same chart. Small prints placed loosely wander visibly from garment to garment, and nothing about a premium program looks cheaper than a detail that cannot sit still.
How Print Sizes Scale Across Garment Sizes
One print size across an XS to 3XL range is the trade’s quiet compromise, and mostly it works: a 28-centimetre centre print reads well across the middle sizes and the ends of the range accept it. Programs that care about proportion grade the print, typically stepping the width by one to two centimetres between size groups, so the design occupies the same share of the chest on every body.
Grading costs screens, since each print size is its own screen set, and honest quoting names that. The middle path most programs choose is two print sizes across the range, one for the smaller sizes and one for the larger, which keeps proportion respectable without multiplying setup. What should never scale is placement discipline: the landmark distances adjust by size so the print sits at the same visual height relative to the neckline, not at one fixed measurement that climbs the chest as sizes shrink.

Placement Landmarks: Neckline, Pocket and Seam References
Printers place by landmarks because garments are sewn, not machined, and panels vary by millimetres that the eye forgives when the reference is consistent. On a tee, the collar seam is king; on a hoodie, the pocket’s top edge and the drawcord channel bound the printable field, and a design that dips into the pocket zone will print across a seam and crack along it.
V-necks, Henleys and garments with chest seams each move the landmarks. The rule that survives every style is the same: agree the landmark and the distance in the tech pack, in writing, with a diagram if the position is unusual. A placement described in a sentence will be interpreted; a placement described in measurements will be repeated.
Approval should be physical and measured, not visual and hopeful. The buyer checks the strike-off with a tape against the chart, width, landmark distance and centre line, on a garment laid flat and smoothed as the printer lays it. Photographs help only when the tape is in the frame. This five-minute discipline, done once at sampling, is what allows a thousand garments to be checked by sampling a handful at the end: the bulk is trusted because the method was verified, not because the pile looks tidy.
Common Size and Placement Mistakes Buyers Make
The classics repeat. Approving a design on a men’s medium sample and discovering it swallows a women’s XS. Placing a centre print by eye on a hoodie and having it land on the pocket. Specifying a back print’s position from the shoulder in one document and from the collar in another, and receiving both. Sizing a text design by its bounding box rather than its visual weight, so a sparse design prints huge and a dense one prints timid.
Every one of these is a communication failure, not a printing failure, and each is prevented by the same dull habit: a size-and-placement chart attached to the order, with the approved sample garment kept as the physical reference. Factories print what is specified; the chart is how a buyer makes sure what is specified is what they imagined.
Women’s, Youth and Oversize Ranges: Adjusting the Chart
Women’s garments are cut narrower and shorter, so the adult unisex chart overshoots them: centre prints typically step down to 22 to 26 centimetres wide, chest placements sit a little higher relative to the garment’s length, and full-front designs shrink in both dimensions to keep their share of the body. Using the men’s chart unchanged is the fastest way to make a women’s range look like borrowed clothing, however good the printing is.
Youth sizes scale by the same logic with smaller anchors: chest prints of 18 to 24 centimetres by age band, left-chest marks down to 7 to 9 centimetres, and placements measured from proportionally smaller landmark distances. Oversize and boxy fits reverse the problem: the chart’s standard print can look lost on a wide body, and programs often add width for the look rather than the body. In every case the discipline is identical, the landmarks hold, the dimensions are agreed per range in writing, and a sample at each extreme of the range proves the chart before bulk.
Specifying Print Sizes and Placements in an Order
For each position, give the width, the landmark and the distance, the garment sizes the print covers, and whether it grades. Send the artwork at the exact print size, at production resolution, so no one rescales by eye at the screen stage. Quantities follow our standard minimum of 1,200 pieces per style in up to two colours, with each print position quoted as its own print.
Approve the first production sample in the smallest and largest sizes, not only the middle: placement errors announce themselves at the ends of the range, and a chart, once proven at the extremes, will hold quietly through the bulk and every re-order that follows it.
Frequently Asked Questions
What is the standard size for a chest print on a t-shirt?
A left-chest logo typically runs 9 to 11 centimetres wide, while a centre-chest design usually measures 25 to 30 centimetres wide on adult garments, with its height following the artwork’s proportions. Placement is measured from the neckline seam so it repeats across sizes: centre designs start roughly 7 to 9 centimetres below the collar.
Should print size change between garment sizes?
It can, and proportion-conscious programs grade the print by one to two centimetres between size groups, often using two print sizes across a full range. Each size needs its own screen set, which honest quotes itemise. A single size across the range is the common compromise and works acceptably through the middle sizes.
Where should a back print be placed?
A standard back design runs 28 to 33 centimetres wide with its top about 10 to 12 centimetres below the back collar seam. A small upper-back mark, 10 to 15 centimetres wide just below the collar, is the other classic position. The collar seam is the landmark that keeps placement consistent across a run.
How large can a print be on a hoodie?
The kangaroo pocket and drawcords reduce the clean field, so centre prints usually run 22 to 26 centimetres wide and sit higher than on a tee, above the pocket. Designs must clear the pocket seams, because ink printed across a seam cracks along it in wear. Oversize hoodie prints are possible with sampling and adapted placement.