
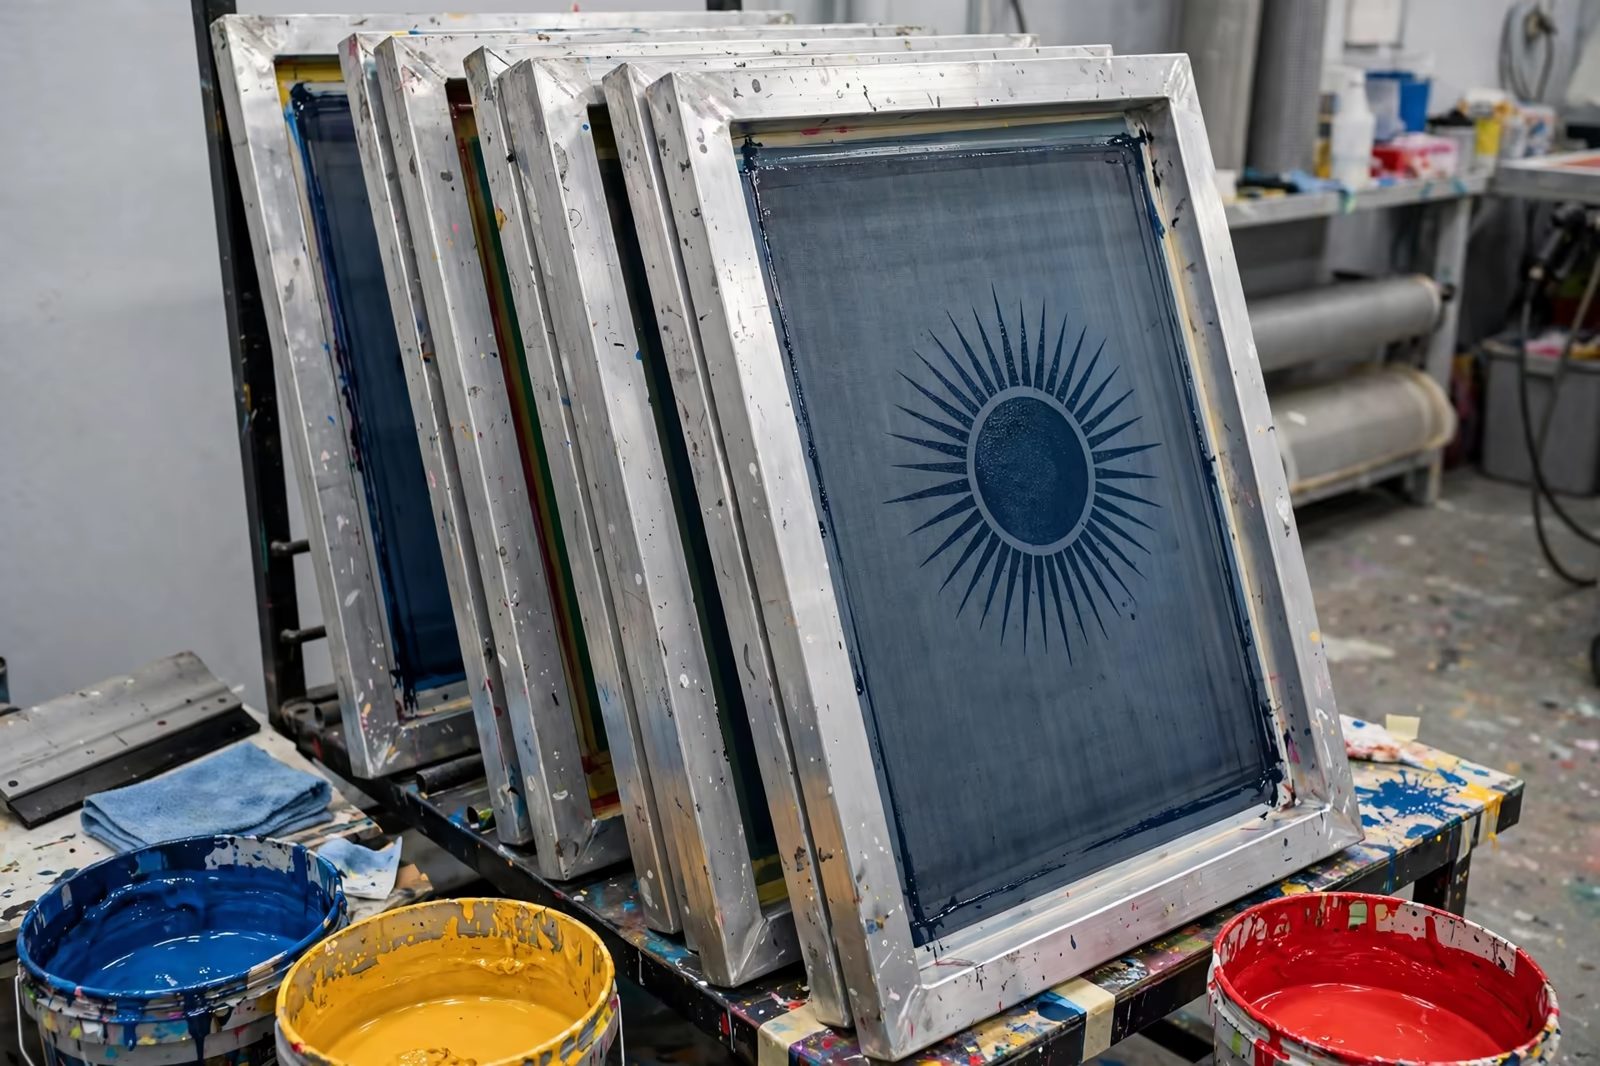
Screen printing is the oldest decoration method in the garment trade and still the one most prints are judged against. A design is split into colours, each colour becomes a mesh screen, and ink is pushed through those screens onto the garment one colour at a time. The process sounds simple enough to fit in a sentence, which is exactly why buyers underestimate it: between artwork and a finished garment sit a dozen skilled steps, and the quality of a print run is decided long before the first shirt reaches the press.
From our print tables in Bangladesh, orders are shipped to buyers in the USA, the UK and Germany, with every screen set up and proven before bulk printing starts.
This guide walks through our screen printing process end to end, the same one that decorates garments like the classic crew-neck t-shirt, and the details a quote is actually pricing when a factory gives you a number.
The Screen Printing Process at a Glance
Every screen print, from a one-colour chest logo to an eight-colour back piece, follows the same seven movements: artwork separation, screen making, press setup, printing, flash curing between colours, final curing, and inspection. The garment travels through them in order and cannot skip: a screen cannot be made before the artwork is separated, and a print cannot be cured properly before it has been printed at the right deposit.
What changes between jobs is scale and precision. A single-colour print on a manual table and a simulated-process design on an automatic carousel use identical principles with very different tolerances, and a buyer who understands the steps can read a factory’s answers, and its samples, with much sharper eyes.
Step One: Artwork and Colour Separations
The process begins on a screen, not at one. The artwork is separated into one film positive per colour, each film carrying only the parts of the design that colour will print. Spot-colour work separates cleanly; photographic and tonal designs are separated into halftones, tiny dots that rebuild shading on the garment, or into simulated process channels that demand real skill from the separator.
This is where most print problems are born quietly. Lines too fine for the mesh, gradients that will band, colours stacked in the wrong order, artwork supplied as a low-resolution image instead of a vector: all of them can be caught at separation for free, or discovered at the press at full price. A factory that asks questions about your artwork before making screens is protecting your run, not delaying it.
Step Two: Making the Screen, Mesh, Emulsion and Exposure
Each film becomes a physical screen. A aluminium or wooden frame is stretched with polyester mesh, and the mesh count is chosen for the job: coarser mesh lays down heavy ink for bold work and specialty effects, finer mesh holds detail and halftones. The mesh is coated with a light-sensitive emulsion, dried, and then exposed to UV light with the film positive pressed against it.
Where light hits, the emulsion hardens; where the film blocks it, the emulsion stays soft and washes away, leaving open mesh in the exact shape of that colour’s artwork. The screen is then checked against the film, pinholes are blocked, edges are taped, and the frame is registered so its colour will land in exactly the right position relative to the others.
Step Three: Setting Up the Press
Setup is the invisible half of printing. Screens are mounted in sequence on the press, usually lightest or key colours in an order the printer plans around the design, and registration marks are used to align every screen to the same garment position. Ink is mixed to the approved colour standard, most often a Pantone reference, and the first garments off the press are test prints on scrap fabric or sample shirts.
The printer adjusts until every colour sits where the design intends, edges meet without gaps or overlaps, and the colour matches the standard under proper light. Only then does production printing begin. Buyers who approve a print should approve this setup strike-off, because it is the moment the whole run is effectively decided.
Step Four: The Print Stroke, Squeegees, Flood and Pressure
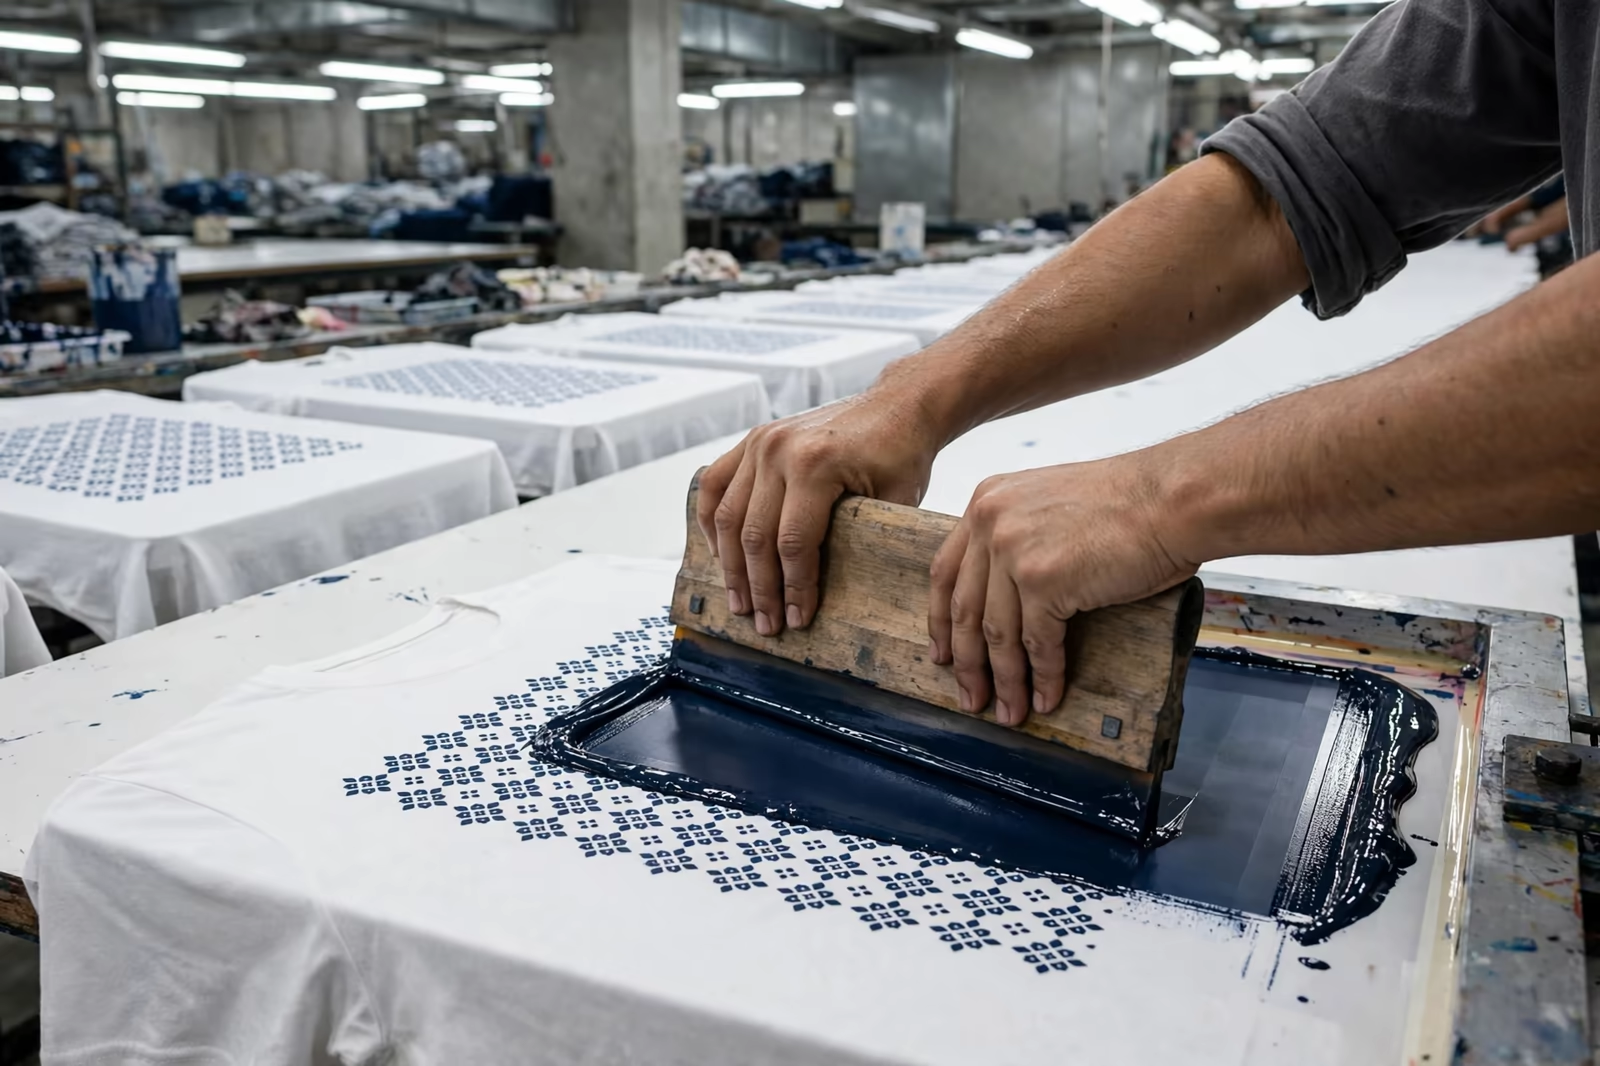
Printing itself is a controlled push. The garment lies flat on a platen, held by a light adhesive so it cannot shift between colours. The screen lowers onto it, ink is flooded across the mesh, and a squeegee, a rubber blade in a handle, draws across the screen with steady pressure and angle, forcing ink through the open mesh onto the fabric.
Every variable in that sentence matters. Squeegee hardness, angle and speed decide how much ink lands; too little and the print is thin and washes out visually, too much and fine detail fills in. On our long manual tables the printer’s hands make those decisions stroke by stroke, which is why manual printing rewards experienced printers so visibly on complex work.
Step Five: Flash Curing Between Colours
Most inks cannot receive the next colour while fully wet, so multi-colour work passes under a flash cure unit between stations: a short burst of heat that gels the surface of the ink layer without curing it through. The print stays tacky enough for the next colour to bond, but dry enough not to pick up on the following screen.
Flashing is a balance learned by touch. Too little and colours smear and contaminate each other; too much and the layer over-gels, so later colours sit on top instead of bonding, and the finished print can crack or delaminate in the wash. On dark garments a white underbase is usually printed and flashed first, giving the colours above it a bright ground to sit on.
Step Six: Final Curing, Where Print Durability Is Decided
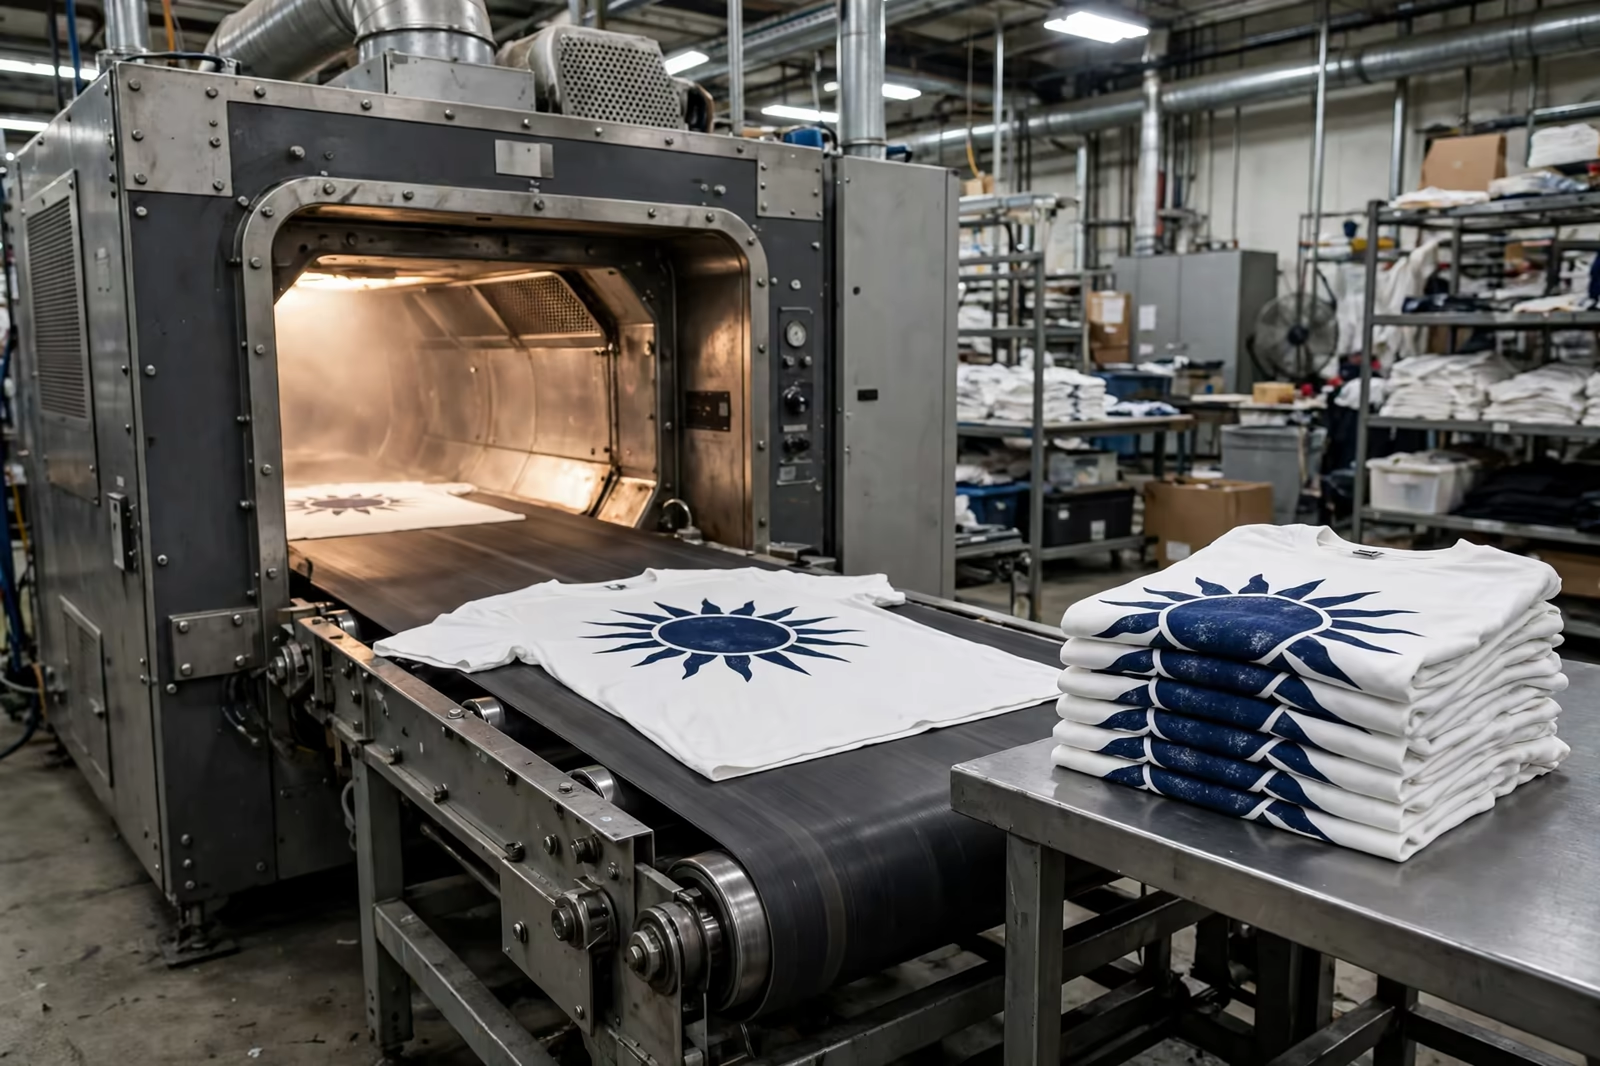
After the last colour, the garment goes through a conveyor dryer, and this is the step that decides whether the print lasts five washes or five hundred. Ink must reach its full cure temperature for long enough to cross-link completely: plastisol typically needs the ink film itself to reach around 160 degrees Celsius, while water-based inks must first lose all their water before the binder can set.
Under-cured prints are the industry’s most common failure: they look perfect at packing and crack, fade or wash out within weeks. The controls are unglamorous: dryer temperature and belt speed checked against the ink maker’s specification, and wash tests on production samples before the run is released. When a buyer asks a factory one question about print quality, how curing is verified is the question to ask.
Wash testing is how curing claims become evidence. A production sample is washed repeatedly, typically five cycles at the program’s care temperature, then checked for cracking when the print is stretched, colour loss against the unwashed standard, and edge lift at fine detail. A print that survives stretching after washing has genuinely cross-linked; one that crazes into fine cracks was cured on hope. Factories running serious programs keep the washed sample beside the approved strike-off, so any later dispute compares physical evidence rather than memories of a screen.
Step Seven: Inspection, Folding and Packing
Finished garments are inspected print by print under good light: registration, colour, coverage, misprints, ink marks and curing feel are all checked before folding. Defective pieces are pulled, counted and recorded, because a factory that tracks its print faults honestly can tell a buyer its real rejection rate rather than a hopeful one. The same discipline applies to shade continuity across a long run, where ink is checked against the standard at intervals rather than only at setup, because a colour that drifts slowly is invisible to anyone watching it happen and obvious to the customer comparing two deliveries.
Only passed garments are folded, tagged and packed to the program’s specification. The print is still slightly vulnerable at this stage to blocking, prints sticking to each other in a warm carton, which is why cured prints are cooled and packed with the printer’s discipline rather than the packer’s hurry.
Manual Tables and Automatic Carousels: How the Work Gets Done
Two press families share the trade. Automatic carousels rotate garments through fixed stations at high speed and suit long runs of repeatable designs, rewarding volume with consistency. Manual long tables, the traditional strength of Bangladesh print rooms, run garments along a table while printers walk the screens down the line with hand squeegees, and they excel at large prints, oversize placements and mixed programs where flexibility matters more than raw speed.
Neither is simply better. The honest difference is fit: automatics win on very long single-design runs, manual tables win on variety, placement size and the judgment a skilled printer applies to difficult fabrics. Buyers should match the method to the program rather than treating one as the premium option by default.
What Buyers Should Ask Before Approving a Print Run
Five questions separate a smooth run from an argument. What mesh and ink system will carry the design, and why. How colour will be matched and approved, and under what light. How curing is set and verified. What the strike-off approval covers and when it happens. And what rejection rate the factory works to, with inspection before packing.
Quantities follow our standard minimum of 1,200 pieces per style in up to two colours, with print colours counted by the design. Approve the strike-off on the real garment fabric, wash a production sample, and the process described in this guide will do the rest: screen printing is a mature craft, and its failures are almost always decided in steps a buyer is allowed to ask about.
Frequently Asked Questions
How many colours can screen printing handle?
Most apparel work runs between one and eight colours, and presses exist with more stations for complex simulated-process designs. Each colour is its own screen, setup and print pass, so colour count is the main driver of print cost. Skilled separators can often rebuild a design in fewer colours than the artwork suggests, which is worth asking about before screens are made.
How long does a screen print last on a garment?
A properly cured screen print should outlast the garment’s ordinary life: years of washing without cracking or serious fading. Longevity is decided mainly at curing, where the ink must reach its full temperature, and by using the right ink system for the fabric. Prints that fail early were almost always under-cured or printed with a mismatched ink.
Why does screen printing suit larger orders better than small ones?
Because the fixed work, separations, screen making, ink mixing and press setup, is the same whether the run is fifty pieces or five thousand, and it is spread across the quantity. At program volumes that setup cost per garment becomes small, and the per-print price falls to the ink and labour of the stroke itself. Small runs carry the same craft at a higher unit cost.
What artwork does a factory need to start screen printing?
Vector artwork is the professional standard, AI, EPS or PDF files with colours specified, ideally as Pantone references, and text converted to outlines. High-resolution raster files can work for tonal designs if they are supplied at print size. The factory separates the artwork into one film per colour, and clean source files make that step faster and more accurate.