
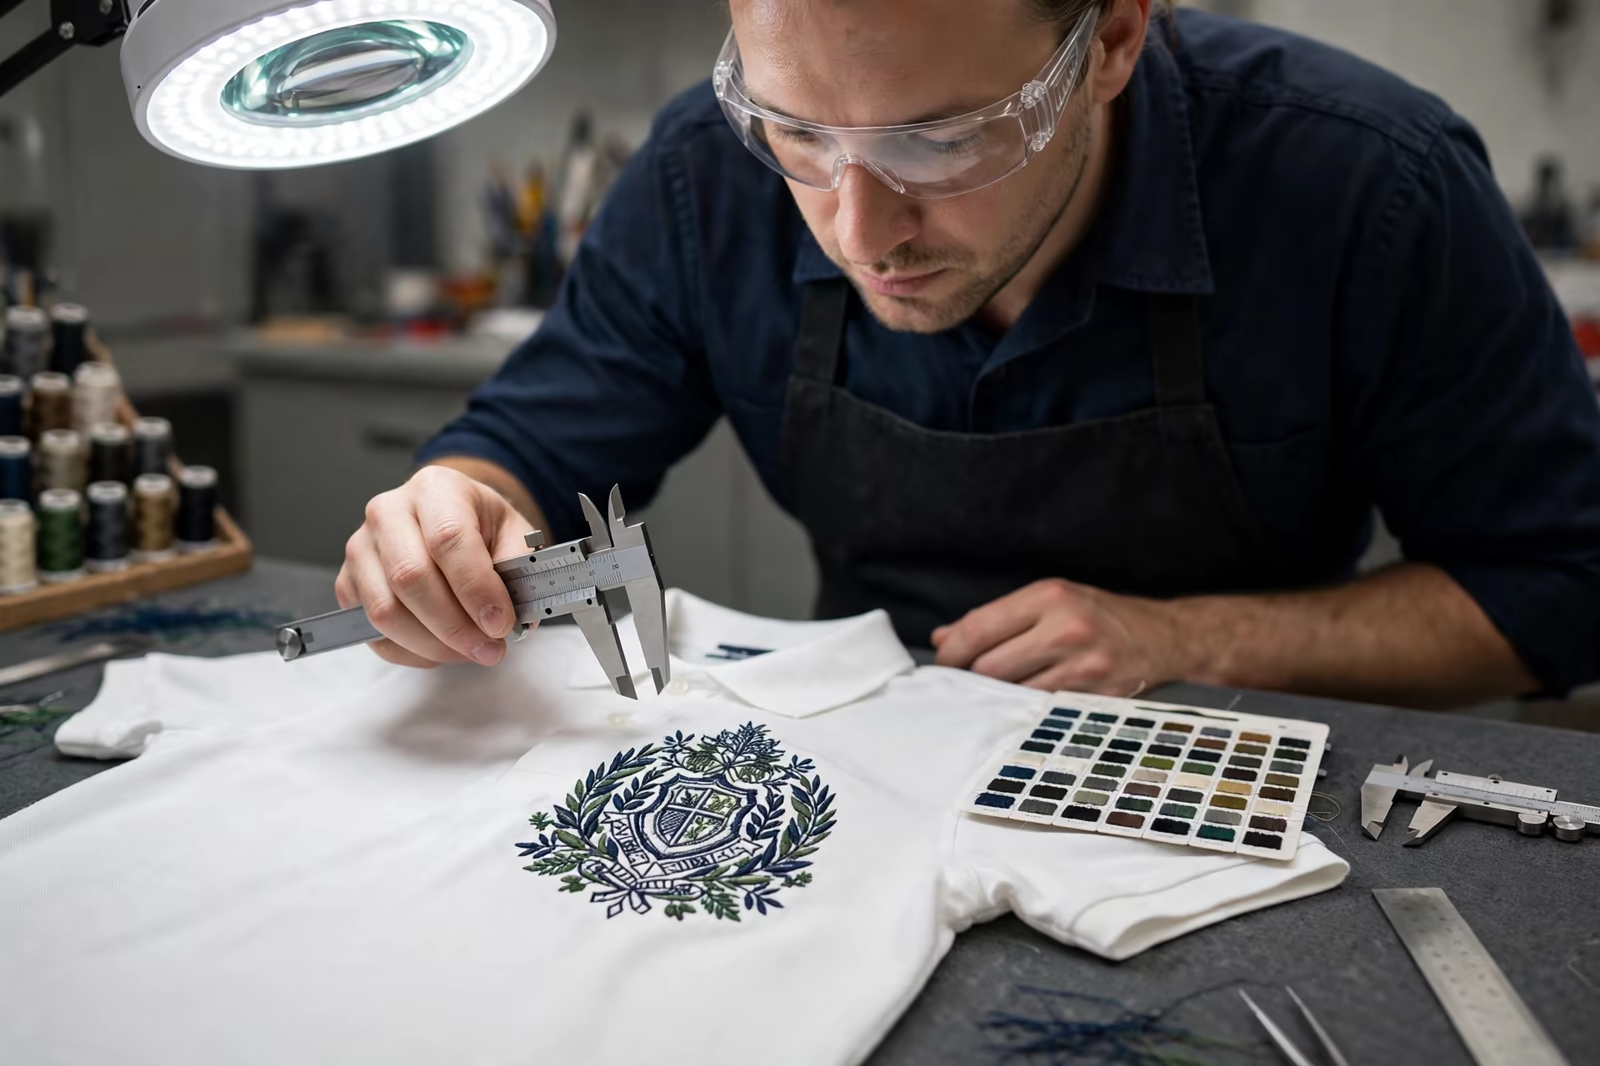
The sew-out is the moment an embroidery program stops being a drawing and becomes evidence. One garment, or one panel of the production fabric, stitched with the real file, the real thread and the real stabilizer, carries every answer the bulk run will ever give: whether the text reads, whether the colours sit right, whether the fabric survives. Buyers who check a sew-out properly buy certainty cheaply; buyers who glance at a photograph and approve buy the bulk run’s surprises at bulk prices. This checklist is the proper check.
Every sew out for buyers in the USA, the UK and the Middle East is checked in Bangladesh against the approved digitised file before bulk production is allowed to start.
It applies to every program inside our embroidery work, runs alongside the quantities in MOQ and production, and ends, when it ends well, at get a quote.
First: Sew It on the Right Ground
A sew-out on substitute fabric proves almost nothing. Density, stabilizer, topping and tension are all answers to a specific cloth, and a design that behaves on a stiff test panel can pucker, sink or distort on the production garment’s pique, fleece or stretch knit. The sample must be the production fabric, ideally the production garment, hooped the way production will hoop it. Anything less is a portrait of the design, not a test of the program.
Ask for the sew-out on the actual style wherever one exists, and where the garment is not yet made, on a panel of the exact production fabric with its real weight and finish. This single insistence catches more future defects than every later check combined, because most embroidery failures are fabric answers that were never asked the fabric’s question.
Check the Drawing: Shape, Size and Placement
Start with the geometry. Measure the design against the artwork: overall width and height, the proportions of its elements, letters neither stretched nor squeezed by compensation you did not agree. Then place it: the position against the placement specification, distances from seams, placket and centre front, level to the garment’s own lines rather than to the table. A design can be beautifully sewn and entirely wrong in size or address, and only measurement, not admiration, catches it.
Check the smallest garment size’s version too where sizes are scaled or re-digitized per size. The sample is usually sewn at the middle size, the safest one; the program’s truth lives at the extremes, the small chest where the logo crowds and the large back where it thins. Two sew-outs, smallest and largest, bracket the run honestly.
Check the Lettering at Reading Distance
Text is where sew-outs earn their keep. Read every word at the distance the garment will be read: arm’s length for chest marks, across a room for backs. Letters should stand separate, counters open, no filled-in loops on a, e and o, no letters holding hands. Then read it closer: satin edges clean, corners squared where the font squares them, no thread tails bridging letters. If any word needs a second look to decipher, the design goes back for the legibility surgery, bigger, bolder or respaced, before bulk makes the problem plural.
Check personalisation extremes in the same pass: the longest name on the list, the one with the narrow letters, the one with the wide ones. A program’s lettering rules are proven by its hardest names, not its average ones, and the time to learn that a name overflows its position is at sampling, when the answer is a specification change and not a remade fleet.
Check the Colours in Two Lights
Hold the sew-out against the brand standard, the pantone reference or the approved master, in daylight first and then under the indoor light where the garments will mostly live. Thread shifts with light more than print does, sheen lies under lamps, and a match blessed at the window can argue at the desk. Note the exact thread codes on the sample card while you check: the approved sew-out and its thread list are one document, and a colour approved without its code recorded is a colour that will be re-argued next season.
Check colour order and trapping where elements touch: overlaps clean, no ground fabric grinning between neighbours, outlines landing where the drawing puts them. Registration errors hide at element boundaries, and they scale faithfully into every garment if the sample waves them through.
Check the Surface: Density, Edges and the Fabric Between
Run a hand over the design. It should feel like part of the garment, firm but not board-like, with no loops standing proud to snag and no stitches so tight the ground fabric tents between them. Look across the surface at a low angle: puckering announces itself in raking light, waves and dimples around the design that flat inspection misses. Flex the fabric gently; the embroidery should move with it, not crackle against it.
Edges deserve their own minute: borders complete with no gaps at corners, fill meeting satin cleanly, fine lines unbroken. Then the fabric inside open areas of the design: undamaged, uncut by needle strikes, its texture alive. A sew-out is also a fabric health report, and needle damage at sampling is a routing or needle change now instead of a claim later.
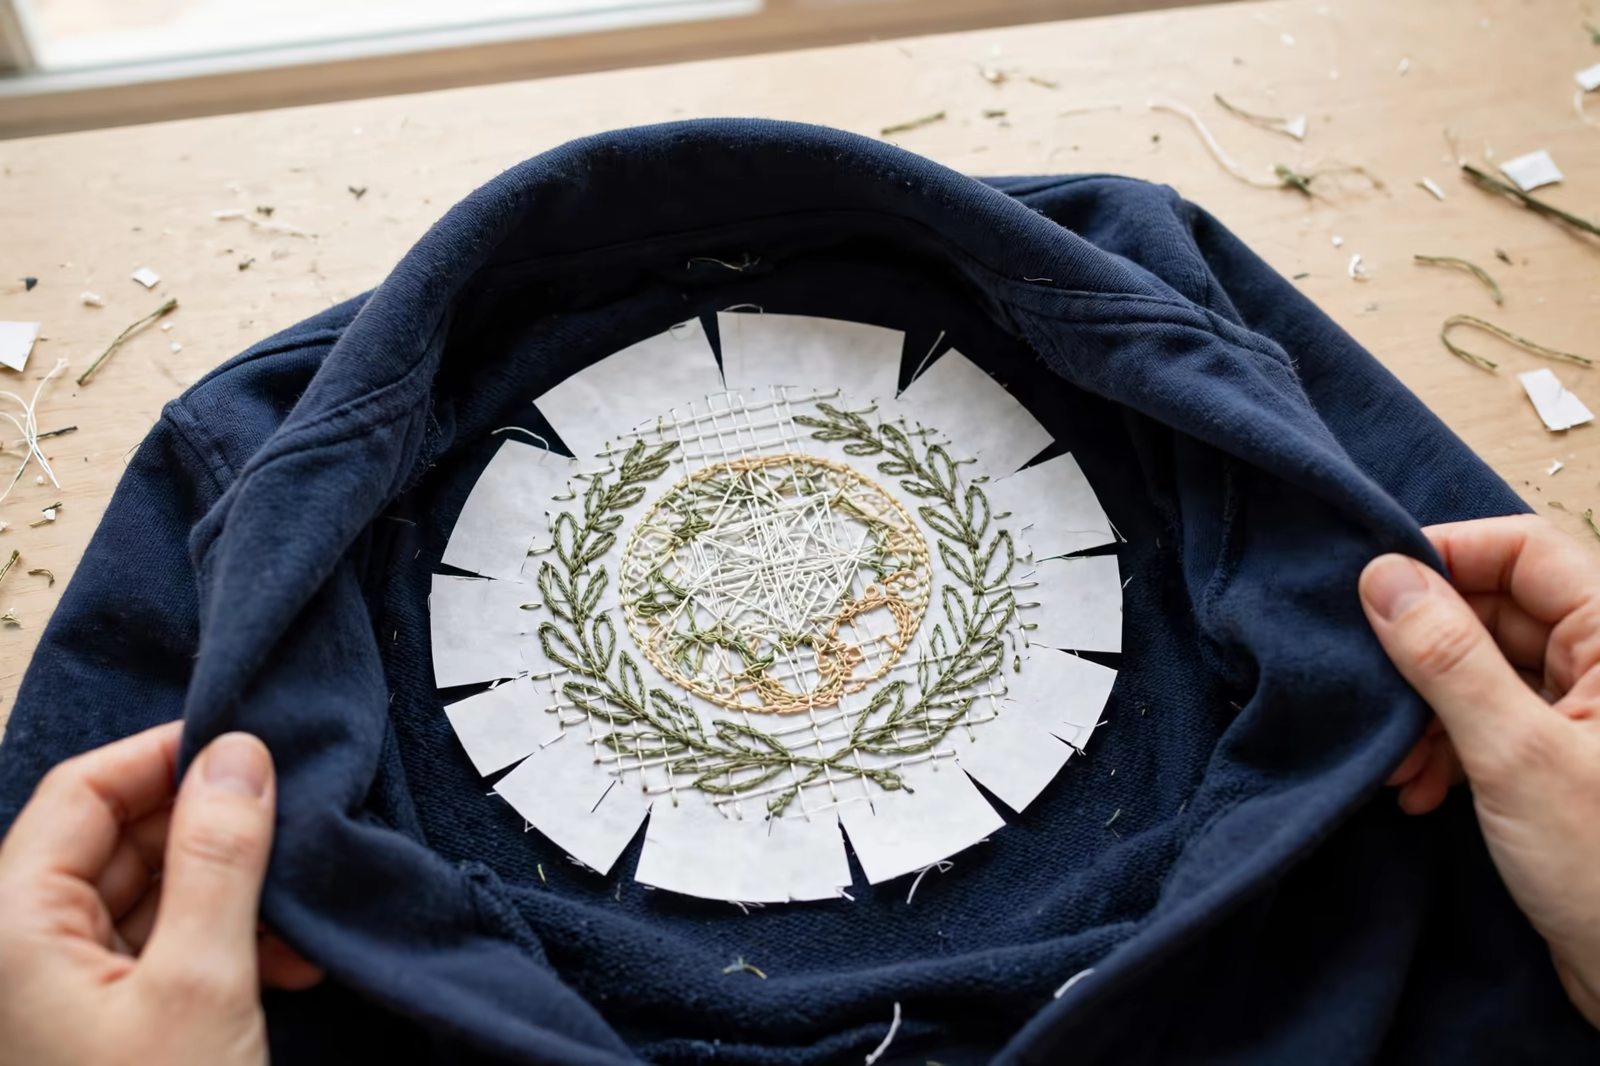
Turn It Over: The Back Tells the Truth
The reverse of a sew-out is its confession. Stabilizer should be the specified type and weight, trimmed tidily, neither a postage stamp that abandons the design’s edges nor a stiff sail left across the garment’s back. Bobbin thread should show in balanced proportion inside the satin columns, the classic sign of honest tension; all top colour underneath means loose, all bobbin on top means strained, and both predict bulk behaviour better than any promise.
On garments worn against skin, judge the back as a wearer: scratchy stabilizer edges and dense knots are comfort defects customers return garments for. Comfort backing or proper trimming belongs in the specification from the first sew-out, where it costs a sentence, not discovered in reviews, where it costs a reputation.
Wash It Before You Believe It
An unwashed sew-out is a first draft. Wash the sample the way the garment will be washed, dry it the way it will be dried, and repeat the whole inspection: colours for bleed and fade against the standard, shape for shrinkage mismatch between thread and cloth, surface for the stabilizer’s true behaviour, edges for lifting. Dye migration, colour loss and distortion all wait politely for water before introducing themselves.
One wash is the minimum; three is the honest number for garments that will live hard laundry lives. Keep the washed sample as the program standard, because it, not the pristine one, is what the customer’s garments will actually look like after their first laundry day, and matching it is the fair definition of consistency for every repeat.
Stitch Count and Feel: The Cost Written in Thread
The sew-out is also where the price becomes legible. Its stitch count, against the design you approved on screen, is the figure the quote was built on, and a sample that arrives far denser than expected is a cost conversation arriving late. Feel answers the rest: heavy fills on light garments, stiff panels where the drawing promised a soft mark. Compare the sample’s weight and drape in the decorated area against the plain garment; a logo should not change how a polo hangs or how a fleece folds.
If the count or the hand feel is wrong, sampling is when digitizing trims, opens and lightens the design at no penalty beyond a new sew-out. In bulk, the same discovery is a renegotiation conducted over finished garments. This is why the checklist measures feel alongside form: a program is approved by the hand as much as by the eye, and the sample in yours is the last cheap chance to use both.
Record the Approval Like a Contract
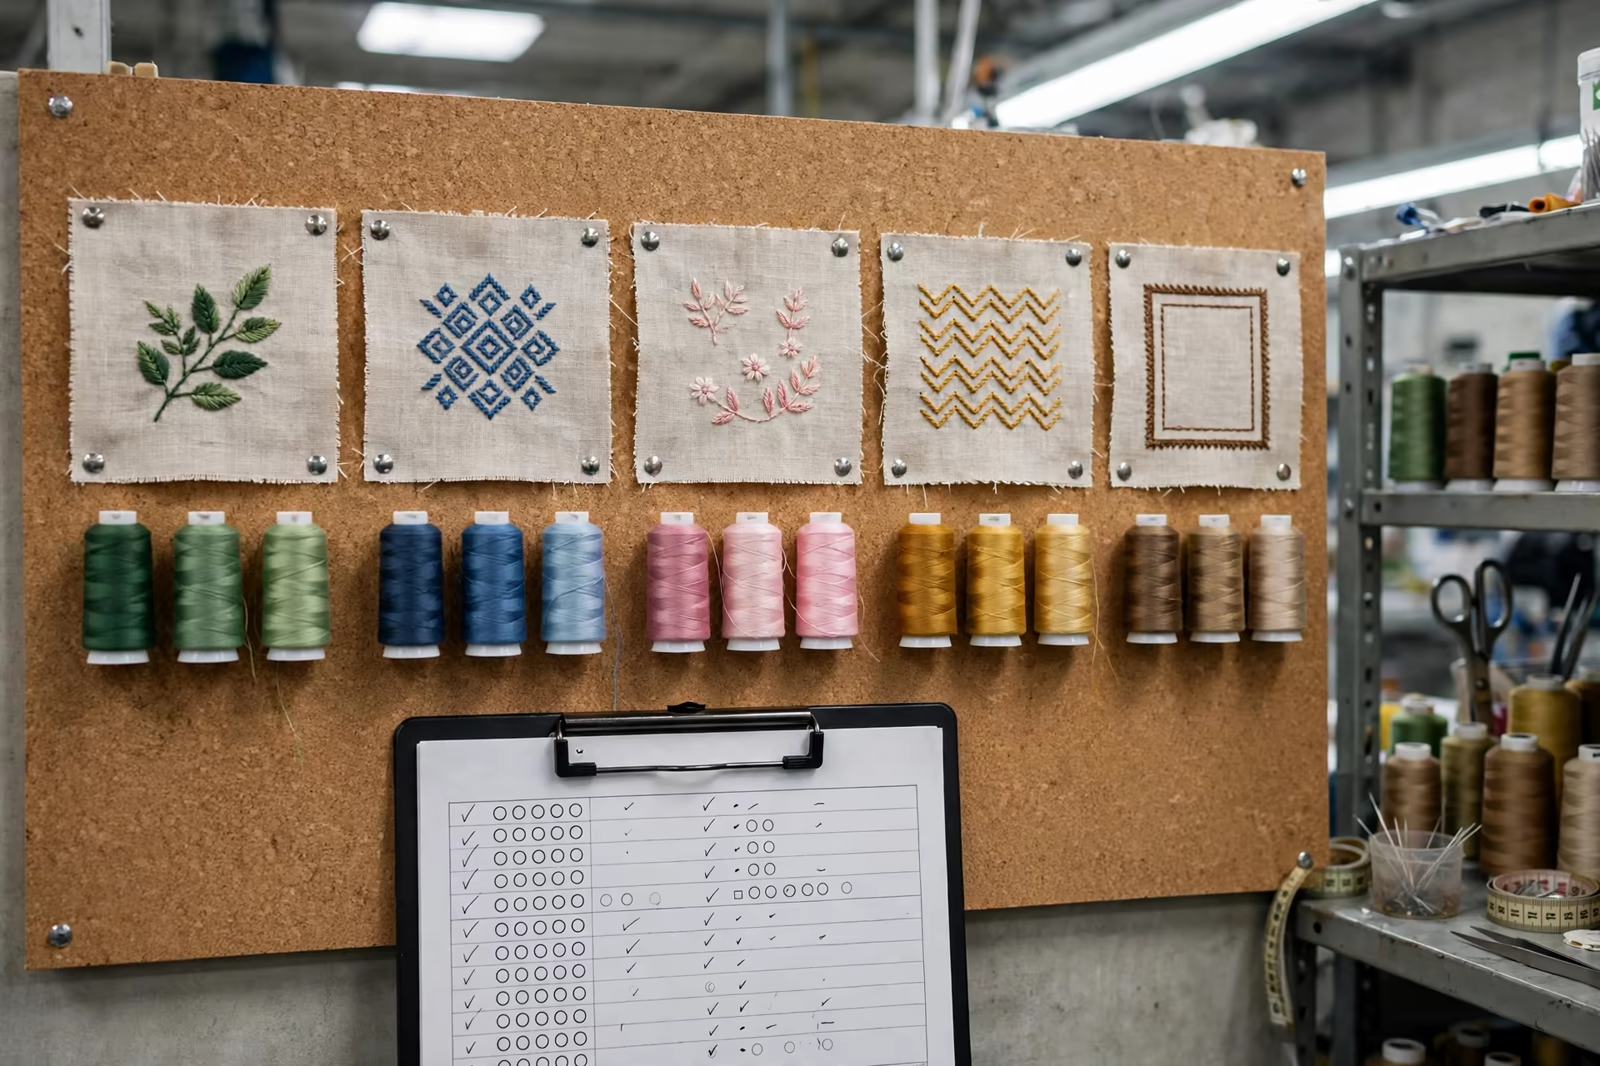
Approval is paperwork, not a feeling. The signed record holds the sew-out itself, the thread list with codes, the placement specification with measurements, the stabilizer and backing specification, the size-by-garment table and the wash result. With that file, a repeat order is a verification exercise and a dispute is a comparison; without it, both are arguments conducted from memory against photographs.
Our programs run at our standard minimum of 1,200 pieces per style in up to two colours, and every one begins with this checklist applied to a sew-out on the production garment. Bring your artwork and your hardest questions to the sample stage; it is the cheapest room in the whole program, and the only one where every answer is still inexpensive.
Second Sew-Outs: What a Revision Must Prove
When a check fails and the design is revised, the second sew-out is not a formality; it must prove the specific failure is cured without introducing its siblings. Enlarged lettering may now crowd the border it was given room from; reduced density may open gaps the first version’s weight was hiding; a moved placement may find a seam the original avoided. Judge the revision whole, with the full checklist, not only at the point of repair, because embroidery changes travel.
Keep both versions until approval, labelled and dated. The rejected sew-out is evidence of what the program decided against, and more than one production argument has been settled by producing it. A sampling file with its failures kept is a program’s memory; a file holding only the winner invites the same failure to be re-proposed next season by someone who never saw it lose.
Frequently Asked Questions
What exactly is a sew-out?
The design stitched once, with the production file, thread and stabilizer, on the production fabric or garment, before bulk runs. It is the program’s physical proof: drawing, colours, lettering, density and fabric behaviour all judged on the real thing. Nothing about bulk should be approved from artwork or photographs alone.
What are the most important checks on a first sew-out?
Measured size and placement against the specification, lettering read at real distance, colours against the standard in daylight and indoor light, surface and edges for puckering and gaps, the reverse for stabilizer and tension, and the whole inspection repeated after washing. The back and the wash are the two checks buyers most often skip and most often wish they had not.
Should I approve a sew-out from a photograph?
No. Photographs flatten texture, hide puckering, lie about sheen and cannot be handled, flexed or washed. Have the physical sample sent and judge it in the hand, in two lights, front and back, before and after washing. The postage on a sample is the cheapest insurance in the program.
What happens if the sew-out fails a check?
The design or specification changes and a new sew-out is made: lettering enlarged or respaced, density adjusted, thread changed, stabilizer upgraded, placement moved. Sampling rounds are the program working as intended. What must never happen is waving a failed sew-out into bulk and hoping production improves it; bulk only multiplies what sampling approved.